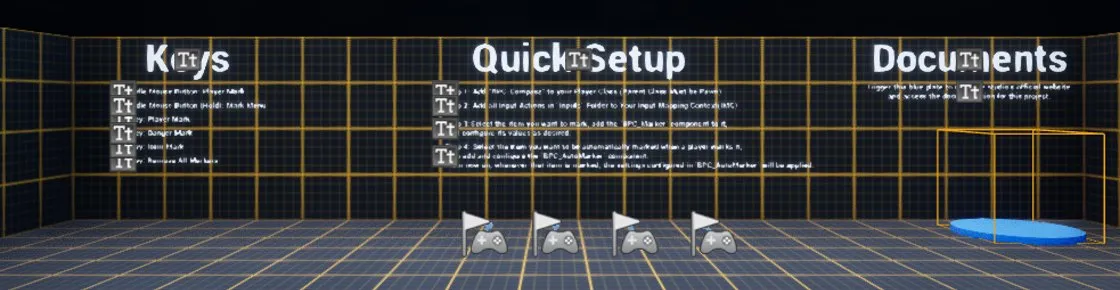
Quick setup
The four steps to get the compass and pings running, and how to test them.
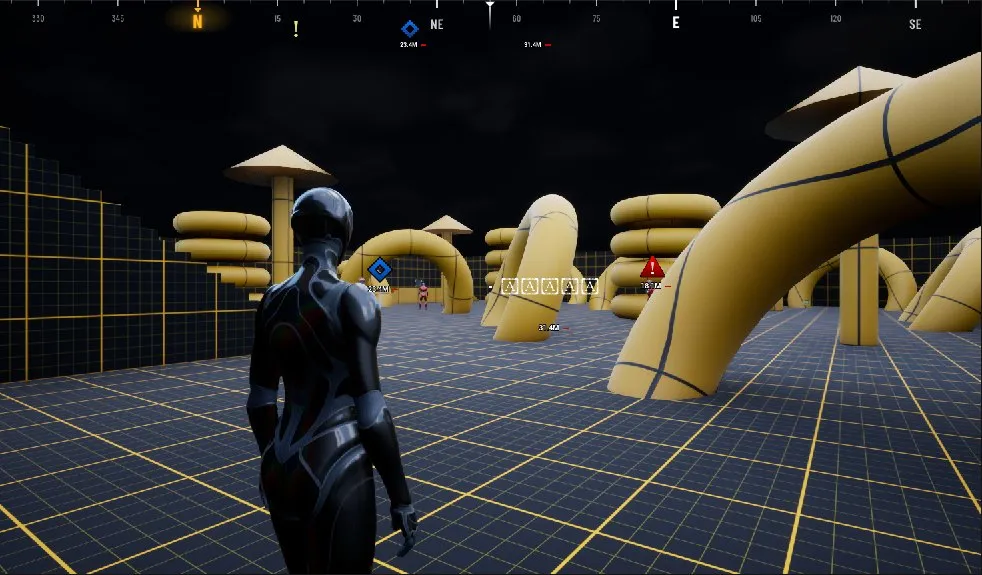
This guide walks you through adding the compass to your game, how markers behave, and what every setting does. You never need to open the system's Blueprint graphs to use it.
Requirements: Unreal Engine 5.8, a Pawn with a Camera Component, and Enhanced Input.
If you just want it running, these four steps are all you need. Each one is covered in detail on the later pages.
1. Add the compass component to your player pawn
Open your player character Blueprint. In the Components panel, click Add and pick BPC_Compass. Compile and Save. The compass now appears at the top of the screen.
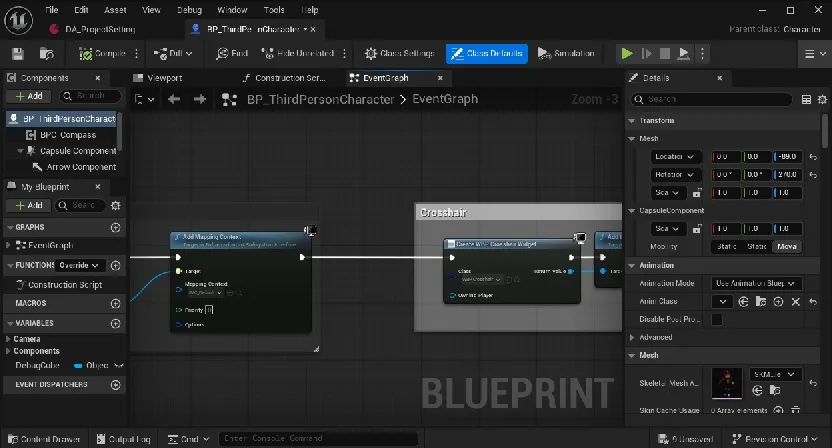
2. Add the input actions to your IMC
Open your game's Input Mapping Context and add the six actions from Blueprints/Inputs/Actions with these keys:
| Action | Key |
|---|---|
IA_Mark |
Middle Mouse Button |
IA_MarkMenu |
Middle Mouse Button |
IA_Mark_Shortcut_1 … IA_Mark_Shortcut_4 |
1, 2, 3, 4 |
Both of the first two actions use middle mouse. One fires on a tap, the other on a hold. That is already set inside the actions, so don't add triggers in the IMC.
3. Put BPC_Marker on important objects
Select an actor that should always be on the compass (a mission objective, a base, a drop-off point), add a BPC_Marker component, then set its Marker Type and Marker Name. See Fixed markers.
4. Put BPC_AutoMarker on things players can ping
Add BPC_AutoMarker to enemies, loot and anything else players might ping. When a player marks it, they get the right marker for that object (for example "Danger" or "Rifle") instead of a plain mark. See Smart pings.
Tip
Test it. In the Play options menu, set Number of Players to 2 and Net Mode to Play As Listen Server, then press Play. Tap middle mouse to mark, and check the mark in the second window.